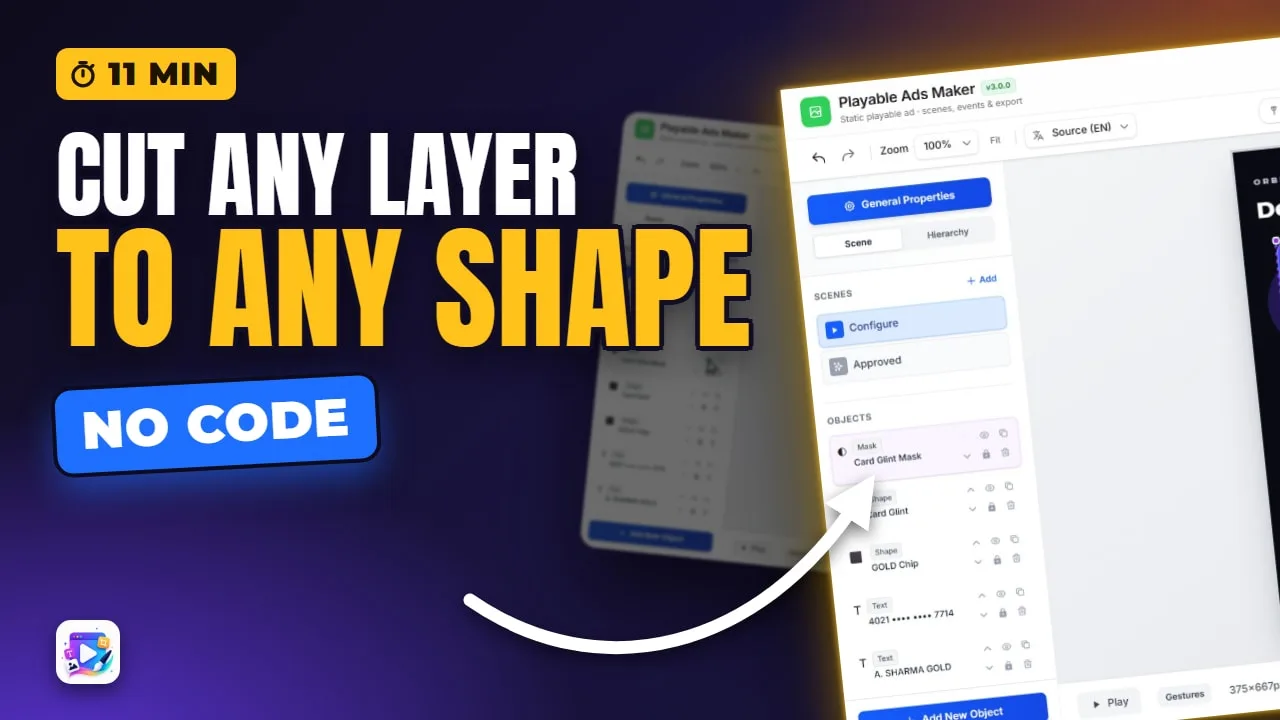
In this video
- What a mask is, shown on a mask already doing its job
- Shape masks: rectangle, circle, oval, triangle, star, and the corner radius
- Applies To: below it, everything, or only the layers you choose
- Invert — punching a hole instead of cutting a window
- Feather, and the one setting here that costs you performance
- Picture masks, and why Alpha vs Luminance decides whether you see anything
- Tracing your own outline: convert, drag, insert, delete, smooth
- Animating the cut: the wipe and the iris
About this video
A Mask draws nothing and decides what you can see of the layers it covers. This tutorial covers all three sources — a built-in shape, a picture you upload, and an outline you trace point by point — plus invert, feather, targeting, and animating the mask itself for a wipe or an iris reveal. It also covers the trap that catches almost everyone: a black PNG cut-out read as Luminance reveals nothing at all, and the file is perfectly fine.
Playable Ads Maker — build playable ads and end cards, export to 13 ad networks.
Transcript
In this video you'll cut any layer to any shape - a circle, a picture, or an outline you trace yourself - and animate the cut to reveal what is underneath.
A Mask draws nothing. It is a shape that decides what you can see of the objects it covers, and that is its whole job. Add one and the canvas looks unchanged until something is underneath it.
This card's glint is an ordinary shape. What keeps it inside the card is a mask.
Read the full transcriptShow less
Turn the mask off and the glint runs straight over the edge, across the background, past the chip. That is the difference a mask makes, and it is the only honest way to see one: not by reading the panel, but by watching what the viewer sees change.
A mask gets its shape from one of three places, and this is the first choice you make. A built-in shape, a picture you upload, or a custom outline you trace point by point.
Rect, Circle, Oval, Tri, Star - and a Corner Radius.
The radius is worth a moment. It is the difference between a photo in a box and a photo that looks like it belongs in your app, and it costs one number.
Now the question people get wrong: WHICH objects does it cut? Applies To answers it three ways.
Objects below it is the default, and it is the one to reach for. The mask cuts everything under it in the layer list, exactly like a clipping layer in Photoshop or Adobe Animate.
Every object in the scene ignores the layer order entirely - useful for a vignette or a viewport that the whole ad sits inside.
And Only the ones I choose gives you a checkbox per object. That is what this card's glint uses: one mask, one target, nothing else affected.
An object belongs to exactly ONE mask. The nearest one claims it.
Invert: everything OUTSIDE the shape survives.
That is how you cut a real notch out of a panel, or a keyhole a product shows through, without painting a fake hole in your artwork and hoping the background never changes.
Feather softens the edge. Zero is a hard cut; wind it up and the mask fades out instead of stopping.
Feather allocates a texture PER TARGET. Use it where it shows.
Now the second source: a picture. Upload any image and its shape becomes the cut - a logo, a brush stroke, a torn paper edge, anything you can draw.
Reads: Alpha or Luminance. This one matters.
Alpha uses the transparency in your file. That is what you want for the commonest mask asset there is - a black cut-out on a transparent background.
On Luminance, a BLACK cut-out reveals nothing. Black means hide.
Luminance is for when you actually want brightness to drive it - a greyscale gradient that fades a photo out, or a cloudy texture that dissolves one layer into another.
And because it is a picture, it fits its box the same way every other image does: cover, contain, stretch, or actual size, with a position to match.
The third source is the one I like most. Custom lets you trace the outline yourself, point by point.
Convert to editable points: every corner becomes a handle.
Drag a handle to move that point.
Click anywhere on the outline itself to insert a new point into that edge - so you add detail exactly where you need it, rather than starting with fifty points and tidying up.
And hold Alt and click a point to delete it. Three is the floor, because two points do not enclose anything.
Smooth rounds the outline into curves - and the box grows to follow the CURVE.
Points are stored as FRACTIONS of the box - so one outline serves both orientations.
Now the reason masks are worth learning at all. A mask is an ordinary object, so it can be animated - and when it moves, the cut moves.
Move a rectangle: a wipe. Grow a circle: an iris.
And because every target is cut by the same mask object, animating that one mask moves all of them together. One animation, however many layers it is revealing.
Check both orientations before you finish. The outline carries over, but the box it lives in has its own size in each - so a mask that frames your product in portrait can be cropping it in landscape.
And test it with Play. A mask is invisible by definition, so every way of getting it wrong is invisible too - the panel will look completely correct either way.
Three mistakes to avoid. A picture mask reading Luminance when your file is a black cut-out - that is the blank screen, and it is the one that catches everyone.
Feather on everything. It is the only setting here that costs you a texture per target, and on a mid-range phone that adds up.
And expecting an object to be cut by two masks at once. It will not be - the nearest one claims it, and the other is silently ignored.
Try the iris. Put a circle mask over your product, animate it from nothing to full size, and you have the reveal every prize ad in the store is built on.
That is Mask, end to end. See you in the next video!